Sunday, April 30, 2017

Game Characters Lecture

This month I had a game character course.  We focused mainly on anatomy and learning the way muscles and bone work. We did different activities each week focusing on a different topic every time. For the final week of class we did a bust and full body sculpt using ZBrush. I still have a lot of work to do regarding anatomy and practicing, but here are the presentation shots of my final projects for the class.


Friday, February 24, 2017

Environment Art Lecture

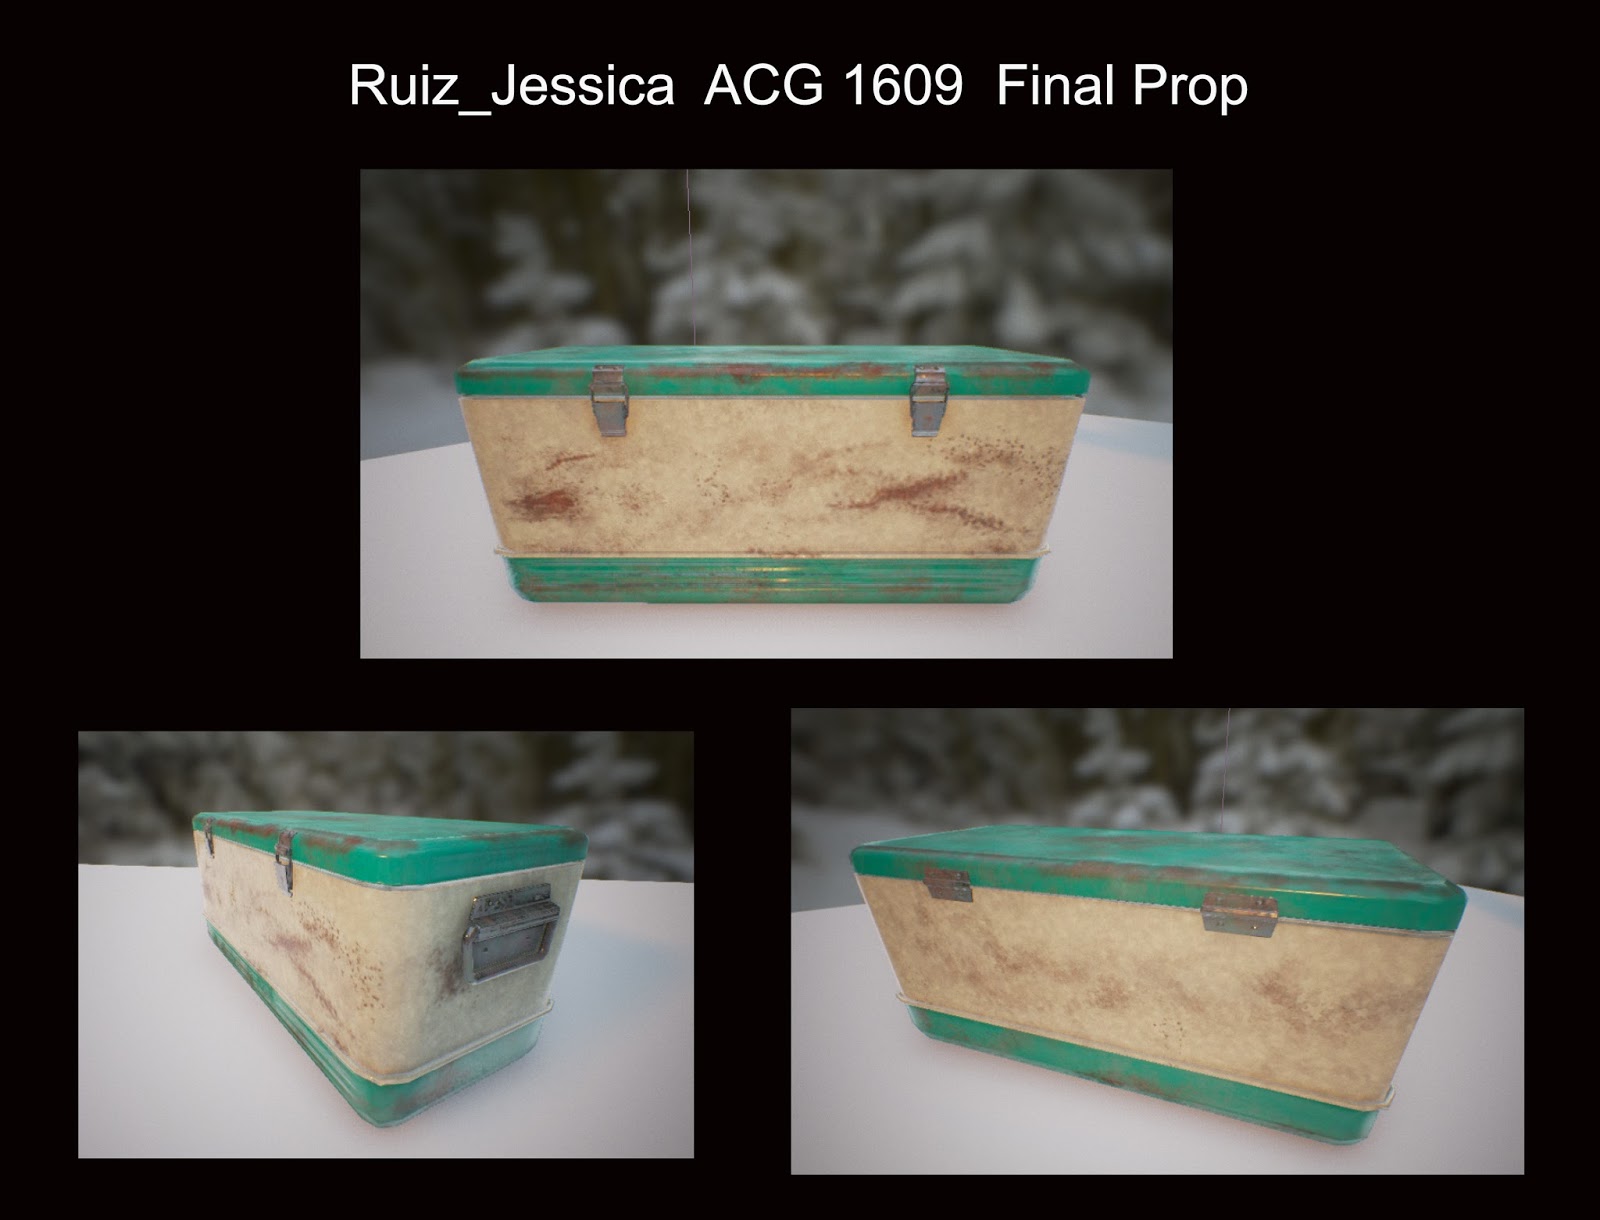
This month I worked on environment art and modular building. We created tiling textures using Substance Designer, created material blends, build an environment using modular meshes, and finally we lit the modular level we created.  Below I will post the assets we worked on for each week of the course.

Week 1:  Tiling Materials

For the first week of class we created 6 tiling materials using Substance Designer.

Brick:


 Mossy Stone:


Ornate Tiles:


Slate Floor:


Stucco:


Wooden Floor:


Week 2:  Material Blending

For week 2 we created 3 material blends using different methods for each one. 

Color ID map:

For this blend we created a mask in Maya with a different color for each material we wanted to blend onto the mesh, then we imported the mesh and ID map into Substance Designer to create our complex material.


Multi-Material Blend Node:

Here we used the multi-material blend node inside Substance Designer.  We created masks for each material we wanted to use, and positioned them according to our reference.  Then we plugged each material node to the multi-material blend node using the mask we created to get our desired result.


Vertex Painting:

For the final material blend we used the Unreal Engine 4 vertex painting.  We imported the maps for each material we wanted, and used the Vertex Color and Lerp nodes to blend them together.  We were then able to use the paint tool inside the engine to paint the second material on top of the first.


Week 3:  Modular Building

For this project we used BSPs inside Unreal Engine 4 to block out a reference image of our choice.  After we had the level blocked out we converted the BSPs to Static Meshes and exported them to Maya.  We used the BSPs as reference for scale and proportion to build the Static Meshes we would be using to re-create the level.  After modeling the meshes in Maya we UVed them, created custom collisions for the meshes we would need to walk through, then exported them back into UE4.  We used the new meshes to replace the existing BSPs since they do not have proper geometry.

Reference:


Re-Built Level:

This is my level after I replaced the BSPs with the static meshes I created in Maya.


Week 4:  Lighting

For the final week of class we used Unreal Engine 4 to light the level we created the previous week.  For this I used a Directional Light to simulate the sun, and point lights for the interior lighting of the level.  I also added in Atmospheric Fog and a Sky Light to create the sky and sun sphere. After that I brought in a Lightmass Importance Volume, Post Process Volume, and Sphere Reflection Captures to optimize the scene lighting. After everything was done I built my lighting using Production Quality to see the final results.

Here you can see the Directional and Point lights, as well as the Sphere Reflection Captures inside the level.


Final lighting built at production quality being played.


This are all the projects we worked on during this month. I learned a lot about constructing a game level from start to finish, as well as how to create and blend my own materials and textures. I hope to practice this techniques more in the future and create more complex levels in the future.

Saturday, December 17, 2016

Level Assembly and Lighting 1612

This month we learned more about Unreal Engine 4 and Substance Designer 2.  Each week we worked on a different project focusing on a specific subject. For week 1 we created our own materials using Substance Designer 2, then imported them into Unreal to assemble our building.  We also created an emissive material for the lamps and a material instance to control the light color and brightness on individual lamps.


The following week we created an environment completely inside of Unreal Engine 4 using foliage assets from the Unreal Engine Forums.  For this project I also used a height map from the Terrain.party website to create my landscape. The requirements for this project were to create a sky dome blueprint, landscape material like sand and grass, a foliage material for the trees, shrubs, and grass, as well as a procedural foliage spawner (to populate the trees and shrubs), and to use the foliage placement paintbrush for the grass.  We also had to create a path for our character to follow where he did not get stuck on the landscape or meshes. To accomplish this I used Unreal Engine 4 and followed my class notes and podcasts provided.


Week 3 was about lighting. We were given assets and told to match a reference picture. We used Maya to create custom lightmap UVs for each object then imported them into Unreal. Inside the engine we arranged the meshes to match the reference, created a Lightmass Importance Volume, Post Process Volume, and placed Sphere Reflection Capture nodes in our scene.  We made sure to turn off auto exposure in our post process volume and project settings so that we could have stable lighting throughout the project. After the scene was set up I placed point lights to match the reference and changed their settings to match the reference as closely as possible. I also created an emissive material for the lamps so the light source would match the emitted light. To do this I created a material instance of the emissive material so that I could easily chance the color of different lamps.  When I was finished with the lights I also adjusted the lightmap resolution of each mesh to optimize the scene's lightmap density, then built the level.

          Reference:

        Finished Project:

For week 4 we had to create water and fire using particles inside of Unreal Engine.  For the water I created a plane in Maya which we UVed and imported into the engine. For the water's normal map I created a tileable texture in Photoshop then used CrazyBump to turn it into a normal map. Inside Unreal I created a new material for the water using the normal map I created.  For the fire we were required to have one emitter with two modules, one for the fire and one for embers or sparks. For the fire we also created custom masks using Photoshop as a targa image with each mask in one of the image's RGB channels. Using this mask I created the materials for both the fire and ember particles. Each module inside the emitter has its own settings and parameters that can be changed independently from one another.


Overall I learned a lot about Unreal Engine 4 and I am much more comfortable working with it now. I hope to learn even more about building levels, landscapes, lighting, and particles in the future so that I can keep improving.  I really enjoyed this class and had a very fun month learning new things.


Sunday, September 25, 2016

ACG Final Prop

This month we took a prop through all the steps in the pipeline for a game.  We first blocked out the prop using Maya, then created a high resolution version of the prop. After that was done we created an in-game resolution version to UV and texture.

 After the UV process was done, I took the meshes into Substance Painter and created a texture for the cooler using the reference image as a guide.


After the texture maps are done the prop is ready to be imported into the engine. And that completes the pipeline for a game prop.


Sunday, August 28, 2016

3DA2 1608 - Animation Final

This month was my second portfolio class, and this time it was for animation! I had fun this month creating my final. We had four weeks to complete a three step walk cycle and a simple action. I chose to do a wave for my simple action this time. I was able to complete the walk cycle fairly easy this time, the only problem I had were the hand/arm controls and getting them to move smoothly.  Overall I think I did better than the last animation class, and I was able to approach this project with more confidence.  Here are some work in progress playblasts of my animation so that you can see the process.

Blockout:

This are the main keys.


Breakdown:

Walk is almost done here, and breakdowns/in-betweens are added for secondary action.


Final:

This is my final playblast.


Saturday, June 25, 2016

3D Animation 1606 Lecture

This month I had 3D animation. We learned how to animate a basic ball bounce as well as a character walk cycle and simple action. With the knowledge I gained from the lecture materials and my notes I was able to create some fun scenes.

This first scene is the simple ball bounce which was the foundation for the second assignment where we created a Mario inspired scene. This is the final playblast for the simple ball bounce:


The second scene is the Mario inspired one. We had creative freedom for this one as long as we included three bounces. This is my final:


The next projects we worked on where character walk cycles. The first one is a walk in place cycle which helped us create the second project. This is the in place walk cycle:


The last project I will share with you is the walk forward with a simple action. Once again we had creative freedom for this project and needed to include three steps. The simple action I chose to animate is a knock on the door. Here is my final playblast.


Thursday, May 26, 2016

VEF1 Particles Project for 1605

Particles Project

This month for the second project of our Visual Effects 1 class we created particle effects.  The guidelines were to create 3 different effects from a list. I chose to create the effects of fire, smoke, and molten metal. I used the foundry scene we were given in class for this project. This is what my final scene looks like:


I used what I learned from the fire place tutorial we were given.  The first thing I worked on for this project was the fire effect.  First I duplicated the geometry of the oil inside the barrels and used it to create surface emitters for the fire. I changed the particle type to multi-streak, and adjusted the emitter settings until I was happy with the results. I also added turbulance fields to my fire to make the flame movements seem more random, and a uniform field in Y to make my flames rise up.  This is the result:


Next I worked on the smoke, I used my notes from class to set up my emitter and particle attributes. For the smoke I used volume emitters and changed the particle type to cloud particles.  I used the same cloud particles linked to two different emitters with slightly different creation expressions for random radius. I also added a 3d cloud texture and turned on my transparency.


The last effect I worked on was the molten metal. Once again I used the notes from lecture to create this effect.  I used a surface emitter here with blobby particles with a low threshold. I turned on collisions for my particles and added a uniform field to them to make them collide with the bucket. I also turned on friction for my particles to make them almost drag on the way down. I added a blinn material to my particles and changed the color. I also changed my incandescence color to match my reference of molten metal. My result:


After my effects were done I animated my render camera and set up my render settings according to instructions. I rendered my scene in two passes, first I rendered my software particles and background with my hardware particles hidden. I used Maya hardware set to the production quality setting to render. This process took about 8 hours to complete. After that was done, I rendered my hardware particles (fire) with geometry mask on. I used maya hardware to render at production quality with my number of samples set to 36.  This only took about 2 hours to complete. After my renders were finished, I imported them into nuke and composited them together. I then took my video into Final Cut Pro and added my music and intro/credits. This is my finished product.